
I got a bit bored with the gun after a while, to be honest. The lack of Serpa holsters for the model also got me a bit miffed, so I've had the gun just sit on my shelf gathering dust. I've tried to sell it off a few times, and now I found a buyer. I am ready to bid adieu to the very nice but, for me personally, useless pistol.
As you may remember, the gun was missing the safety lever plunger and its spring, which I replaced with a piece of wire jacket and a toothpick.

I though the new owner might find this arrangement a bit odd, so I decided to go ahead and quickly fashion a new plunger to replace this admittedly fine piece of craftsmanship.

I got a short piece of spring from a disposable lighter (the same spring I used as a cutoff lever return spring on the M4). The slide lock plunger fit on the one end perfectly.

I wanted to have the other end of the spring in the same shape, so I carefully squeezed it from several sides, resulting in a surprisingly nice taper.

Next, I took some raw material to fashion the safety plunger from. If you know me, you know I very rarely throw anything away. This is why I could easily source a fine mandrel from a used pop rivet (I knew I kept these for a reason), which I only needed to machine into shape. My first idea was to simply tighten it on my rotary tool and grind the ends to suit, but it turned out the mandrel was too thin to properly tighten. A few twists of electrical tape fixed that though!

The rotary tool at 10,000 rpm, I first did a rough grind on the end that would face the safety, in order to get a roughly round shape. Then I finished it off with some 600 grit sandpaper to get a smooth finish. Compared to filing by hand, this was a very nice method to get what I wanted, plus the end became round almost by itself.

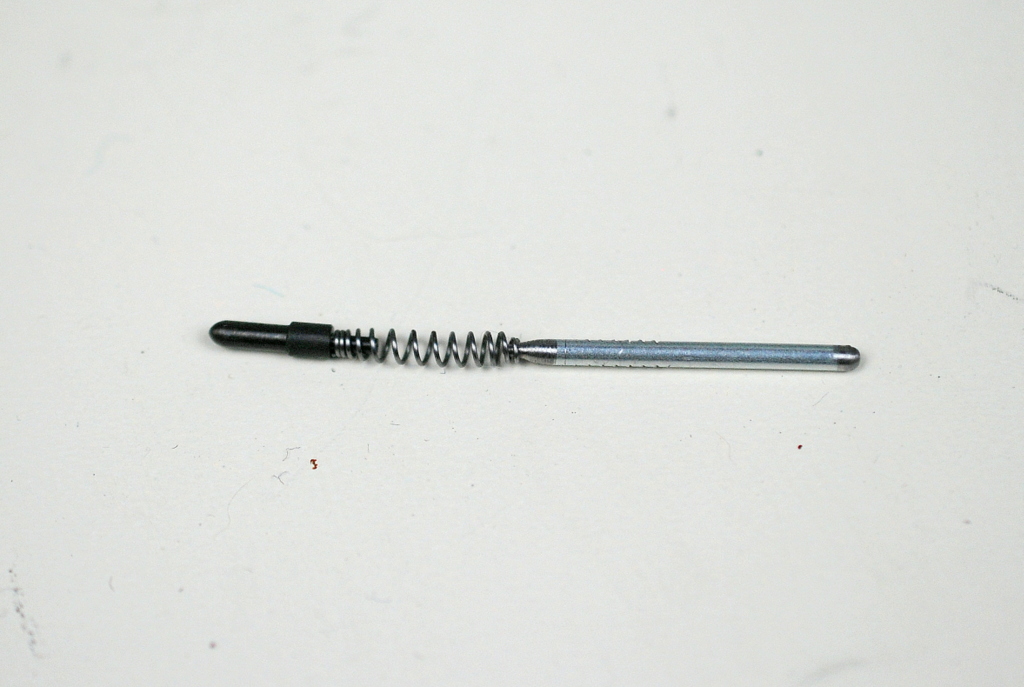
The second part of the job was to turn the mandrel around to grind down the other end. I wanted a roughly similar shape to the plunger as the original slide stop plunger.

For this end I only used a rough file, as I noticed that the spring caught on a rough surface better than a smooth surface.
It turned out I had given myself a bit too much working allowance on the mandrel, and had to cut it down by around 2mm and rework the end, because it was too long even with the spring completely compressed. I chose to redo the safety end as that was easier to get right. After that I simply inserted the spring-plunger combination, which fit in very nicely.

And finally, all that was left was to reinstall the safeties and the slide.

I got a very nice, smooth yet crisp movement of the safety from this endeavour. I guess this mostly goes to show you don't always need to buy spare parts if you can make them. Have you made your own spare parts? Let me know in the comments.
Now I'm off to put this baby in a box and ship it off to a new owner. More projects coming up!
No comments:
Post a Comment